I have even heard several photographers complain about how slow Adobe Lightroom is. While I agree that Adobe desires to improve its photo processor and image organizer, we will do a few things on our machines to help Lightroom run extra smoothly.
Photographer Sheldon Evans stocks three hints to assist speed Lightroom’s performance, as we all recognize time is money, and any time we can keep is valuable. Changing the preferences on how Lightroom handles things is one way to improve the speed, so check out the specific options or attempt the pointers that Sheldon gives in the video.
READ MORE :
- Jewel of nature: Tips for attracting hummingbirds
- Tips to preserve in thoughts throughout online transactions
- The way to Create a Minimalist Computing device to Be Happy with
- 6 Video Design Tips the Pros Don’t Want You to Know
- It is time for everybody to polish – why ‘glow’ is the large new beauty fashion
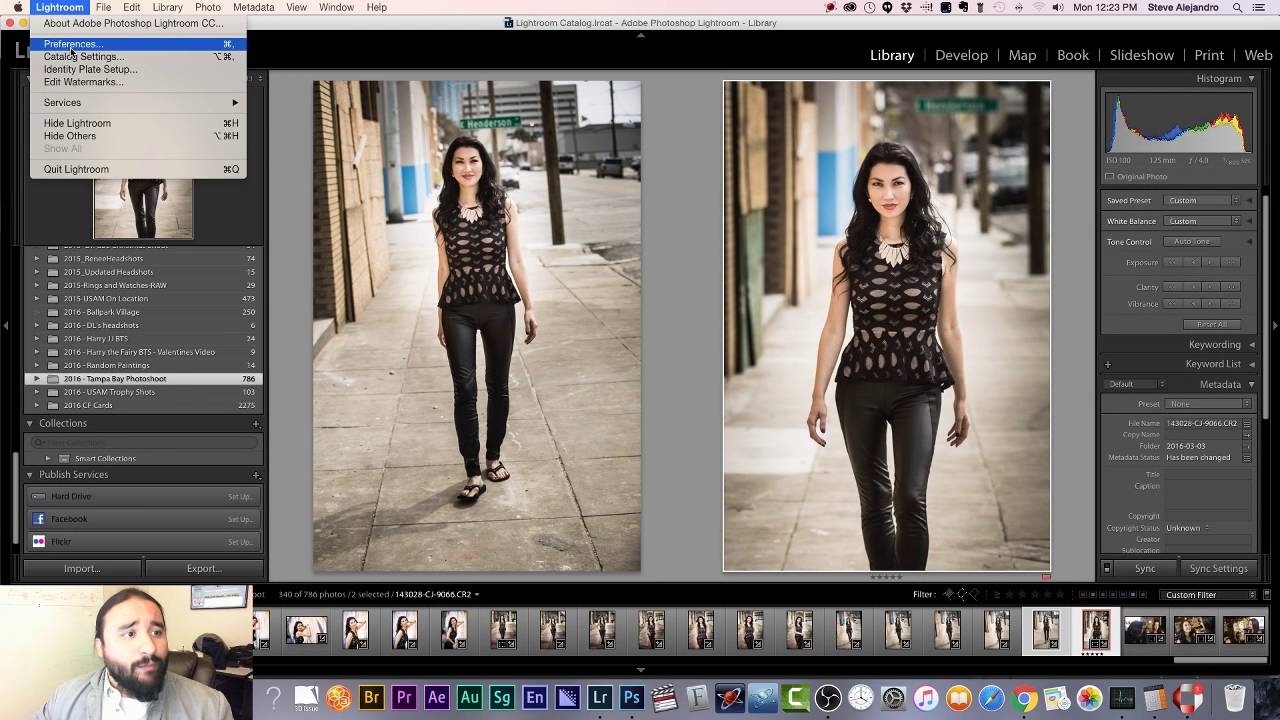
Another tip allows us to one factor a lot of us hate: watching for images to load while going through your series or folders of your paintings. While culling, I don’t have time to proportion, so sitting and awaiting the image to load and switching to the subsequent photograph to attend once more does not work. Building complete previews, even as improving or in the folder, may be executed to store time while going through the photos, but it does take time to build the previews. I typically import and construct while doing something else, and by the point I return to Lightroom, it is much faster to browse through the photographs. Sheldon indicates how you can set up complete previews.
Using Adobe Lightroom 6 For Editing Photos & Do You Need To Do This Editing Malarky?
(By the manner, Lightroom 6 is likewise referred to as Lightroom CC 2015. The former is the model if you buy it on DVD; the latter is the online version you download via subscription from Adobe’s internet site).
Okay, let’s get commenced…
Using Adobe Lightroom 6 For Editing Photos
1. Import Photos
1.1 Transfer Images… Insert your Memory Card into your computer’s card reader (whether integrated into your machine or using a plug-in USB memory card reader).
1.2 Start The Import Process In Lightroom… In the Library tab (accessed through the pinnacle-right set of links in Lightroom 6), click on the “Import…” button.
1.3 Add Keywords… At this point, I upload key phrases to all applicable snapshots found in the “proper panel” of Lightroom. I do this so that I can quickly discover the pix later (I may not be prepared for the manner of the pics at the time, so I regularly get the pics into Lightroom, so they are geared up to be worked on while it’s handier). It’s much faster to click the keyword label inside the “proper panel” in Lightroom than to search random folders to find out where Lightroom deposited them.
1. Four Import Your Images… Over in the “right panel”, click the “Import” button (you’ll find the button in the bottom-left corner).
You’re now equipped to start growing / processing/enhancing (whatever you need to name it) your pix…
2. Develop Photos
2.1 Switch To The Develop Module… You will be inside the “Library” module when you import photos. However, you may need to use the processing equipment in the “Develop” module. So, click the label that announces “Develop” from the menu at the pinnacle-proper of Lightroom’s interface.
2.2 Selecting A Photo To Edit… From the “movie strip” (jogging alongside the very backside of Lightroom 6), click on a photograph that you would like to edit, and it should show in massive, inside the middle of Lightroom.
Now, before I go through the subsequent editing procedure, I need to point out that this is “my” way of modifying photographs in Lightroom 6; there are numerous approaches you can technique this mission, but that is the only one I use all the time, at present, so I’m going to explain what I do. However, as soon as you are familiar with the diverse equipment, you can find your very own method works more intuitively for you, so I inspire you to keep an open mind as you undergo this method of developing photographs and see if you find a better approach for yourself. I must also point out that I’m no longer technically savvy using Lightroom. I was shown a way to use it, and I’ve typically been using the equal technique, albeit I tweaked things barely to my desired way of working. I cannot explain why this method works; All I recognize is it works well enough for me, so this is what I choose to do…
2.3 Adjustments I Do For Multiple Photos At Once… There are some settings that I understand that I’ll use for every unmarried picture that I edit. So, to shop an enormous quantity of time, I take the primary photograph in the film strip and make the following adjustments.
Change Aspect Ratio… You do not have to do this, but I like pix with a widescreen Film/TV appearance (maybe it’s only a segment I’m going via). Inside the proper panel, on the very top (above the Basic board of options), there may be the “Crop Overlay” device. Click the icon, and a submenu drops down. To the left of the padlock icon, there must be a drop-down menu of element ratio alternatives categorized “Original”. I click on this and then pick out “16 x 9”. If I want to, I will reposition the photograph by clicking on it, keeping the left mouse button down, and dragging the photo, which looks excellent. When I’m glad, I click the “Done” button on the backside of the photo window.
Basic Menu Settings To Change… I drag the ‘Highlights” slider to the very left (-a hundred) and the “Shadows” slider to the very right (+100).
Tone Curve Menu Settings To Change… At the backside of this menu block, an option to exchange the “Point Curve” may exist. It normally presents “Linear” by default. I frequently locate I get excellent outcomes after switching to “Strong Contrast”, but I hold open thoughts about testing your photograph with “Medium Contrast”.